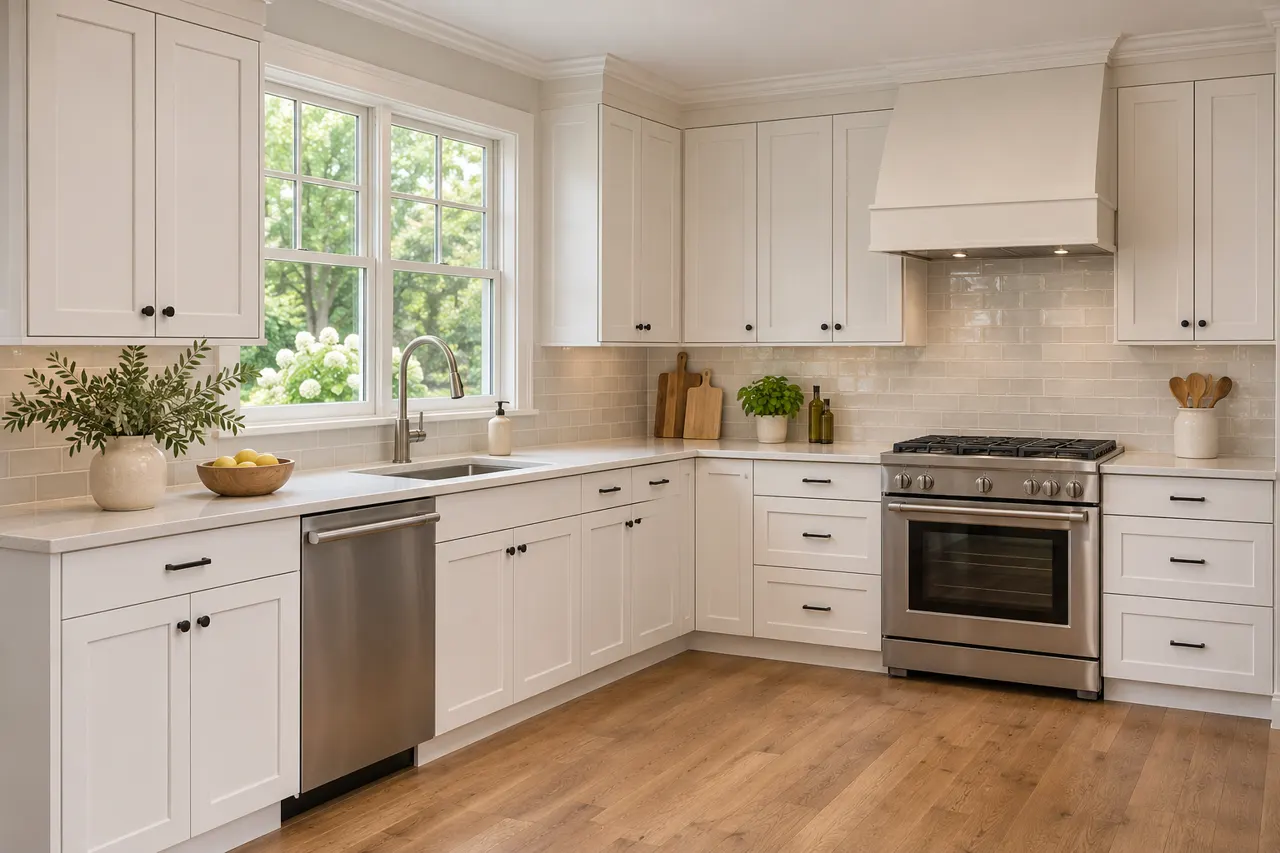
Use the front schedule to prevent assumptions
A kitchen may contain several door and drawer sizes behind one finish name. Check that the order describes each front group.
Ask the proposal to distinguish complete cabinets, replacement doors, exposed panels and fitting. Those packages can all be described loosely as a Shaker kitchen. Naming each part helps you compare the work you want without assuming that every offer covers the same replacement boundary.
- Schedule: Review the front quantities.
- Sizes: Match them to the cabinet plan.
- Options: Identify decorative additions separately.
A single overall rendering helps explain the kitchen but may not establish every front product. The schedule should make the supplied package reviewable. Reconcile the door and drawer list with the approved cabinet elevation.
Decide how the tall fronts should line up
Tall pantry and appliance areas can create a different front pattern from the base cabinets. Review those elevations together.
Use an elevation to compare the frame rhythm across doors and drawers. A single sample cannot explain how several different front sizes will look together. Review the run around appliance openings and corners before accepting a layout that works only as isolated cabinet pictures.
- Tall units: Show their door divisions.
- Neighbors: Compare adjoining wall cabinets.
- Openings: Check the working door arrangement.
Aligning every horizontal line may compete with practical access to the tall unit. Resolve the door function before choosing its final division. Show the tall-door arrangement and adjacent cabinet lines on the elevation.
Treat glass-front sections as a storage choice
A glass-front cabinet makes its contents visible. Decide what will be displayed and what belongs behind a closed Shaker door.
If the current cabinet boxes will remain, their suitability needs assessment before replacement fronts are ordered. Existing hinge positions and dimensions may affect the proposal. Keep a front-only quotation separate from a complete cabinet replacement so the apparent similarity of the finished room does not hide a different scope.
- Contents: Choose the visible pieces.
- Interior: Review shelves and internal appearance.
- Access: Check how the displayed items are reached.
A display section can add interest but reduces concealed storage. Keep its size connected to the objects you actually want on view. Specify the glass-front units and their internal finishes separately.
Review the corner where framed fronts meet
The front profile and handles need space to operate at a junction. Show the adjoining doors and drawers together.
Handle placement deserves review across the entire kitchen, including drawers and tall cupboards. A position that looks balanced on one front may feel awkward on another. Mark the intended locations before fitting so the approved arrangement can be checked consistently against the drawing.
- Corner: Record the cabinet junction.
- Handles: Review their projection.
- Opening: Check the neighboring door travel.
A tidy closed elevation can conceal an awkward opening sequence. Resolve access alongside the visual alignment. Include the corner arrangement and any required fillers in the cabinet drawing.
Position the pulls where they can be used
Handle shape and location affect how a Shaker front is opened. Consider the intended users and nearby cabinet or appliance movement.
Wood appearance varies with the material and finish being proposed. Review the sample with the cabinetmaker or supplier before deciding how adjacent fronts should relate. If a particular grain direction or matching treatment matters, have that preference addressed explicitly rather than relying on a small image.
- Handling: Try the proposed pull where possible.
- Position: Review its location on each front.
- Conflicts: Check adjacent openings.
A small knob and a longer pull create different handling and visual effects. Choose deliberately rather than assuming one suits every door. Identify the hardware product and mounting positions in the specification.
Use a sample to compare the paint appearance
A screen image cannot show the finish under the kitchen's own light. Review the actual sample beside the surfaces that will stay.
Some of the most noticeable surfaces are not doors at all. The end of a cabinet run, an island side and a refrigerator surround may be visible from another room. Agree how those parts relate to the Shaker fronts and identify their finish in the cabinet schedule.
- Daylight: Look at the sample near the window.
- Room finishes: Place it beside retained materials.
- Specification: Confirm the product behind the sample.
A light front can appear different beside warm flooring or a cool worktop. Make the decision in the room rather than from a color label alone. Identify the approved sample or finish reference in the cabinet order.